Thursday, August 2, 2012

Harley Davidson Flame Cake

This is the second Harley cake I created. I made this one for a surprise party.The cake is a chocolate swirl with salted caramel frosting, talk about delicious.

Thanks for your visit today. 
Photobucket

Thursday, July 26, 2012

Culinary Graduate

This card was made for Brent. He just graduated culinary school. YAY Brent! I used the paperdoll cartridge. The paper and bling is from Stampin' Up! Isn't this little cook adorable?


Photobucket Hope you have a great day. Nice to see your smiling face. (I hope it's smiling)

Thursday, July 12, 2012

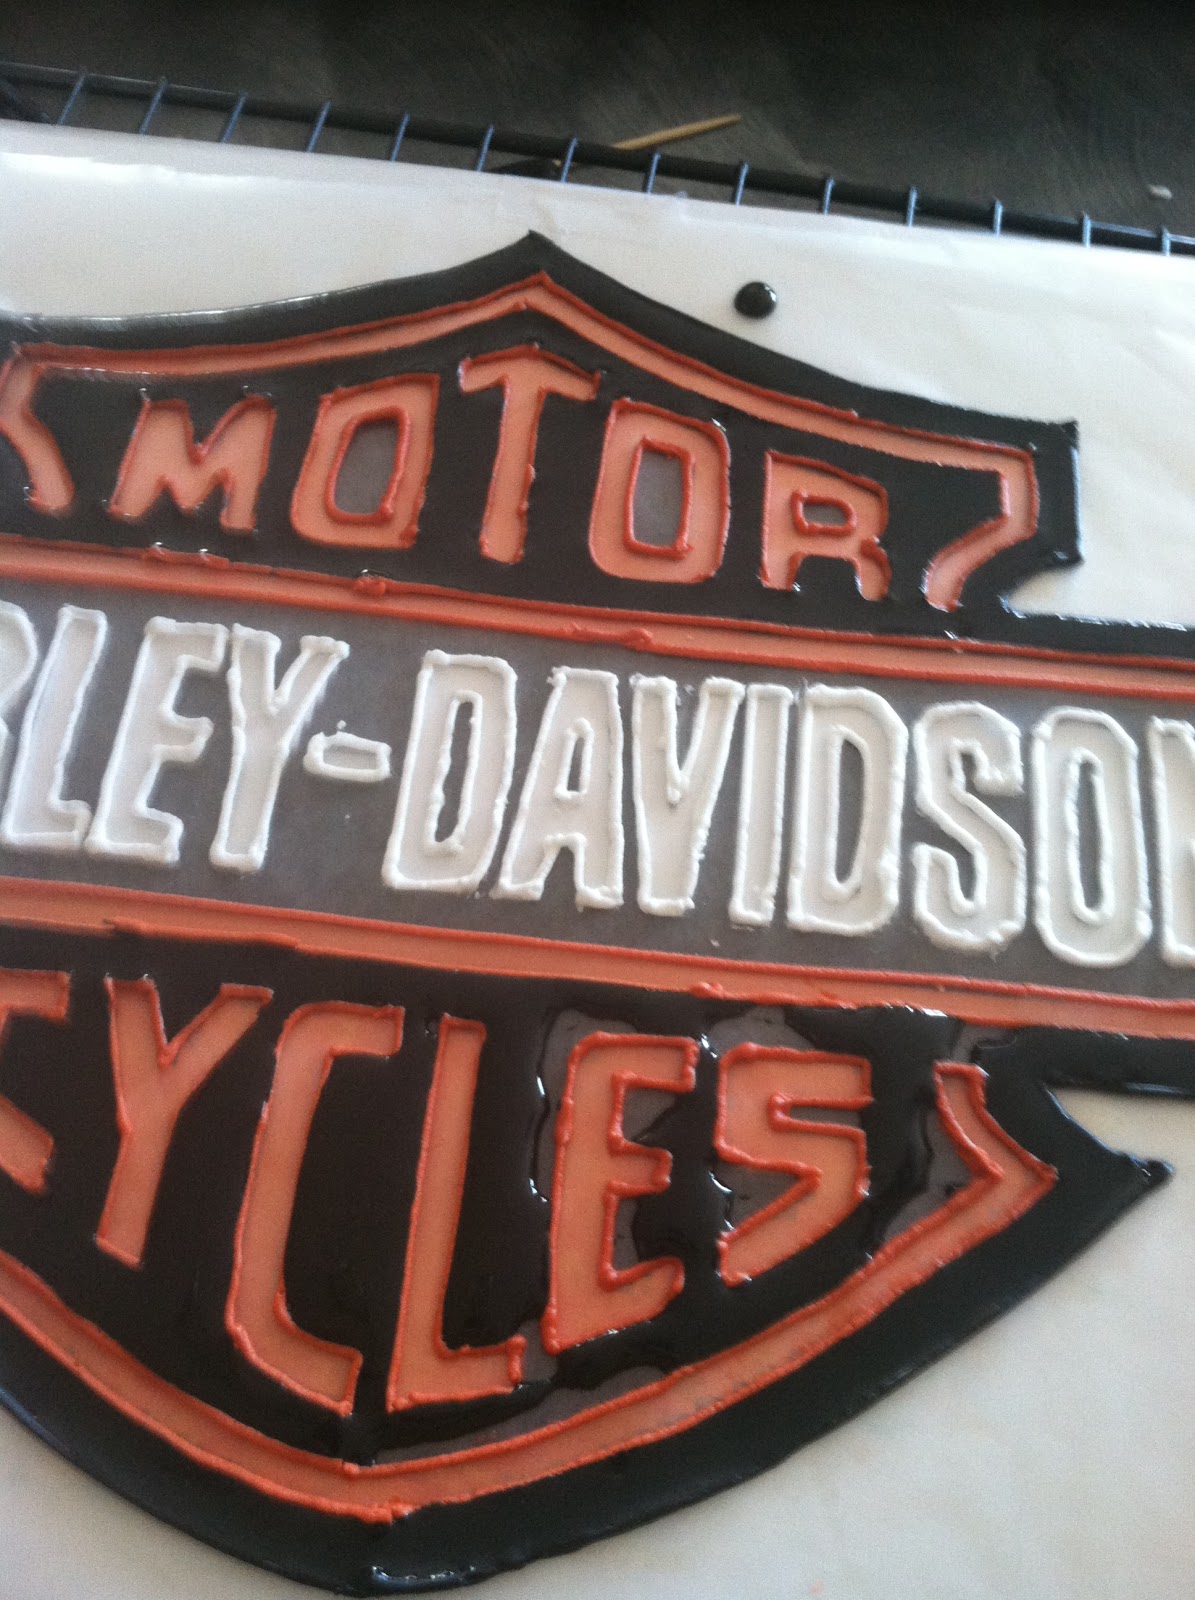
Marbled Harley Davidson Cake

Here is the first Harley Davidson cake I made.  This was for a camping trip to Moab.  We met Jasons' family there.  I love the marbled look with fondant.  The Harley bar and shield was made from royal icing, and allowed to harden.  This was my first time trying this technique.  Needless to say it took my two tries!  That's ok though, I am pleased with the results.


Thursday, July 5, 2012

Harley Cookies

Harley Davidson cookies that I made for my boyfriends birthday.  I made my traditional cream cheese cookies, with fondant, and stamped the Harley motorcycle on the top.  Delicious, easy, and cool looking!


Photobucket

Sunday, July 1, 2012

About Me

Hi my name is Sharon.  This blog is a way for me to organize
the things I do with my spare time.  More to come.....
Photobucket

Friday, June 29, 2012

Monster High Cake

My daughters10th birthday. She really wanted to have a "Monster High"  birthday party. Naturally she got her wish.  This is the monster high cake I made. and the cookies to go with. 
The cookies are everybody's favorite cream cheese, with fondant.  


I gotta say, making this cake and cookies, was really fun.  I loved to watch her little face light up when she saw my completed creation.

Thanks for stopping by... hope your day is fantastic.


Photobucket

Tuesday, May 15, 2012

10th Bday Party

My little girl is turning 10.  So I pulled out my toys.  I haven't
played with my stamps for a very long time.
I am surprised I even remember what to do with them.
As we all say, when our children grow up, where has
the time gone?  I can not believe my baby was born
10 years ago.  In a way I am glad to have my kids growing
up, so I can have more free time.  On the other hand, I dislike the
fact that I am growing older, and my kids need me less.
Rock and a hard spot I suppose.  I do know I am very
blessed to have my four children, and I wouldn't trade
them for anything!!!!
 
 
I don't know, just one of those mornings that I woke up and thought
this is what I want to do today.  She is having a "Monster High" party.
So this fits the colors perfectly!  
This is a pretty old SU set.  

Photobucket
Posted by Picasa

Wednesday, February 22, 2012

Friends

These are some cards I made for some of the most 
wonderful people in the world.
My girlfriends!  


Photobucket
Posted by Picasa

Wednesday, February 15, 2012

Stansbury Cake

I made this for one of my besties ~ Kandi.  Her husband is the wrestling coach for Stansbury Park High School.  Well so happens one of wrestlers is turning 18.  Pretty fun little cake to make.  The 'wrestling' word  is made from cream cheese cookies they are delicious. The cake is a melt in your mouth moist chocolate.   Mmmmmmmmm

Enjoy Kandi!!! and wrestler dude!!!!


So Kandi texts me up~ last minute-ish and asked me to make a
matching card.  Here you go girlfriend. Lots of luv! 


The blue is SU Pacific Point, and the cartridges I used were George & Basic for the word wrestling. Plantin Schoolbook  was used for the big ol' S.  


Thanks for stopping by today. 
Hope you have a terrific day!!!!


Photobucket


Posted by Picasa

Monday, February 13, 2012

Tissue Box

This is the tissue box holder that we made at my last Stamp Party.
These are pretty cute and very simple to make. 


Cut 2 pieces.  9 1/2 x 5 1/8


Score each piece at 1/2" and 5"


Cut four of these


and four of these


one of these


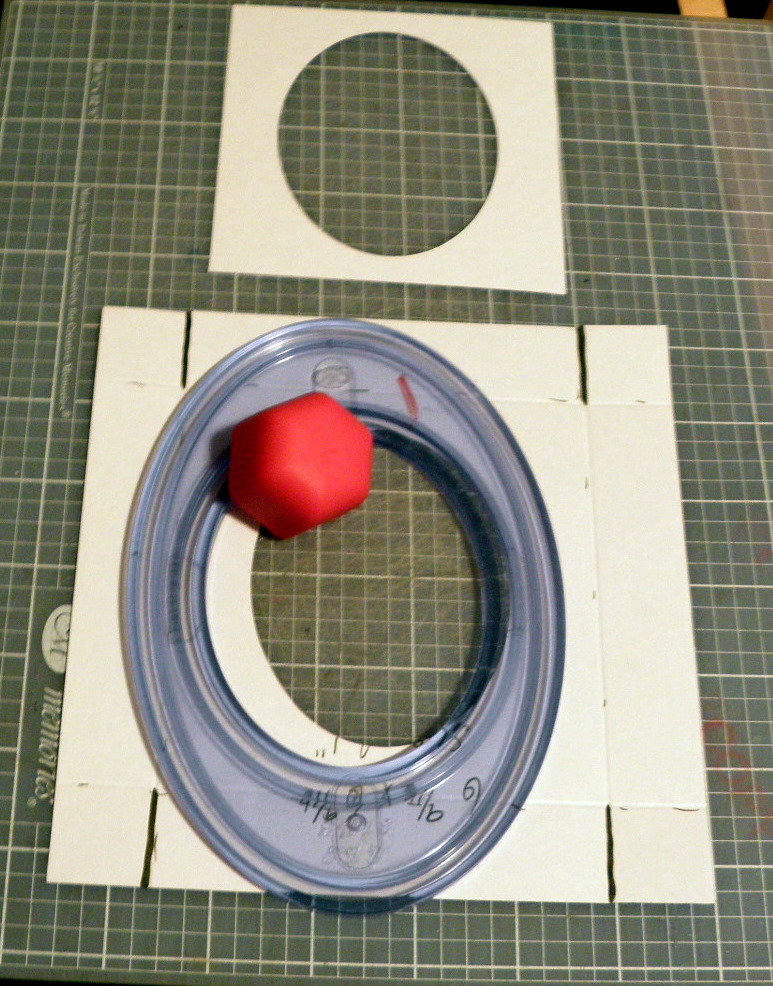
Then cut the tabs.  You can see the dark lines I have
drawn to show where to cut.


These are for the tops.


Cut ovals, I believe I did 2 1/2" ovals to pull
the tissues through.

Fold the tabs in, and glue them together.


Use the punch for the top.
Look at how pretty that is.

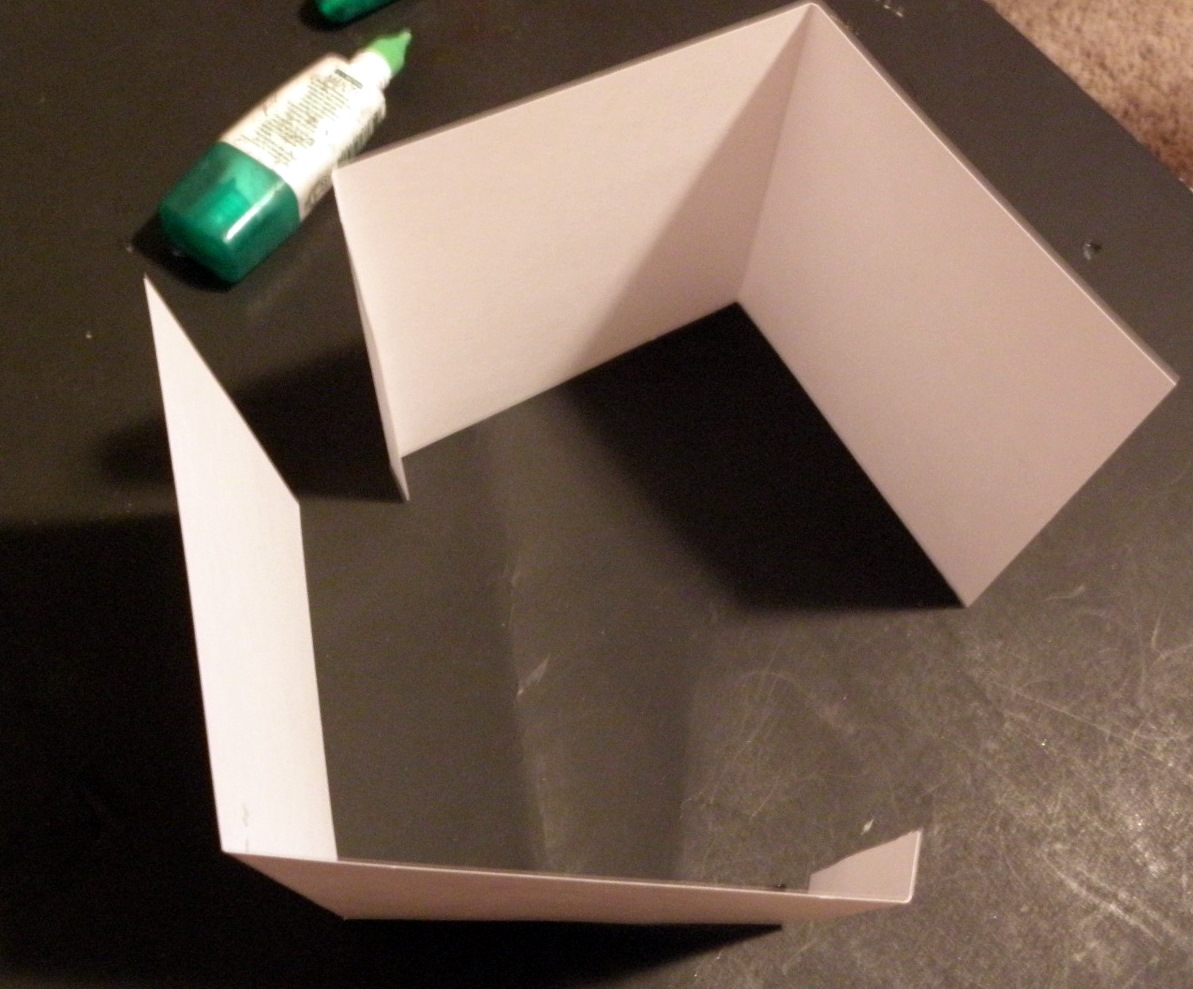
Fold the 1/2" tabs in, and glue the two pieces together.


Decorate all of your pieces.  I stamped, and
embossed mine.


These are all the pieces you will need to put the
top together.

Ok, the small pieces are glued to the top, around
all four sides.


The 4 x 4 1/4 pieces are glued to the sides.


whoo hoo~ put it all together and look and how
beautiful and fun!!!!


Photobucket


Posted by Picasa