I made these candles for a couple friends.
I love that I can use my stamps to create one of a kinds gifts.


 |
| Here is the framed art I made for them. I wanted to stamp it to match the card. |


 Here's mine, of course with the ladybug....LOL
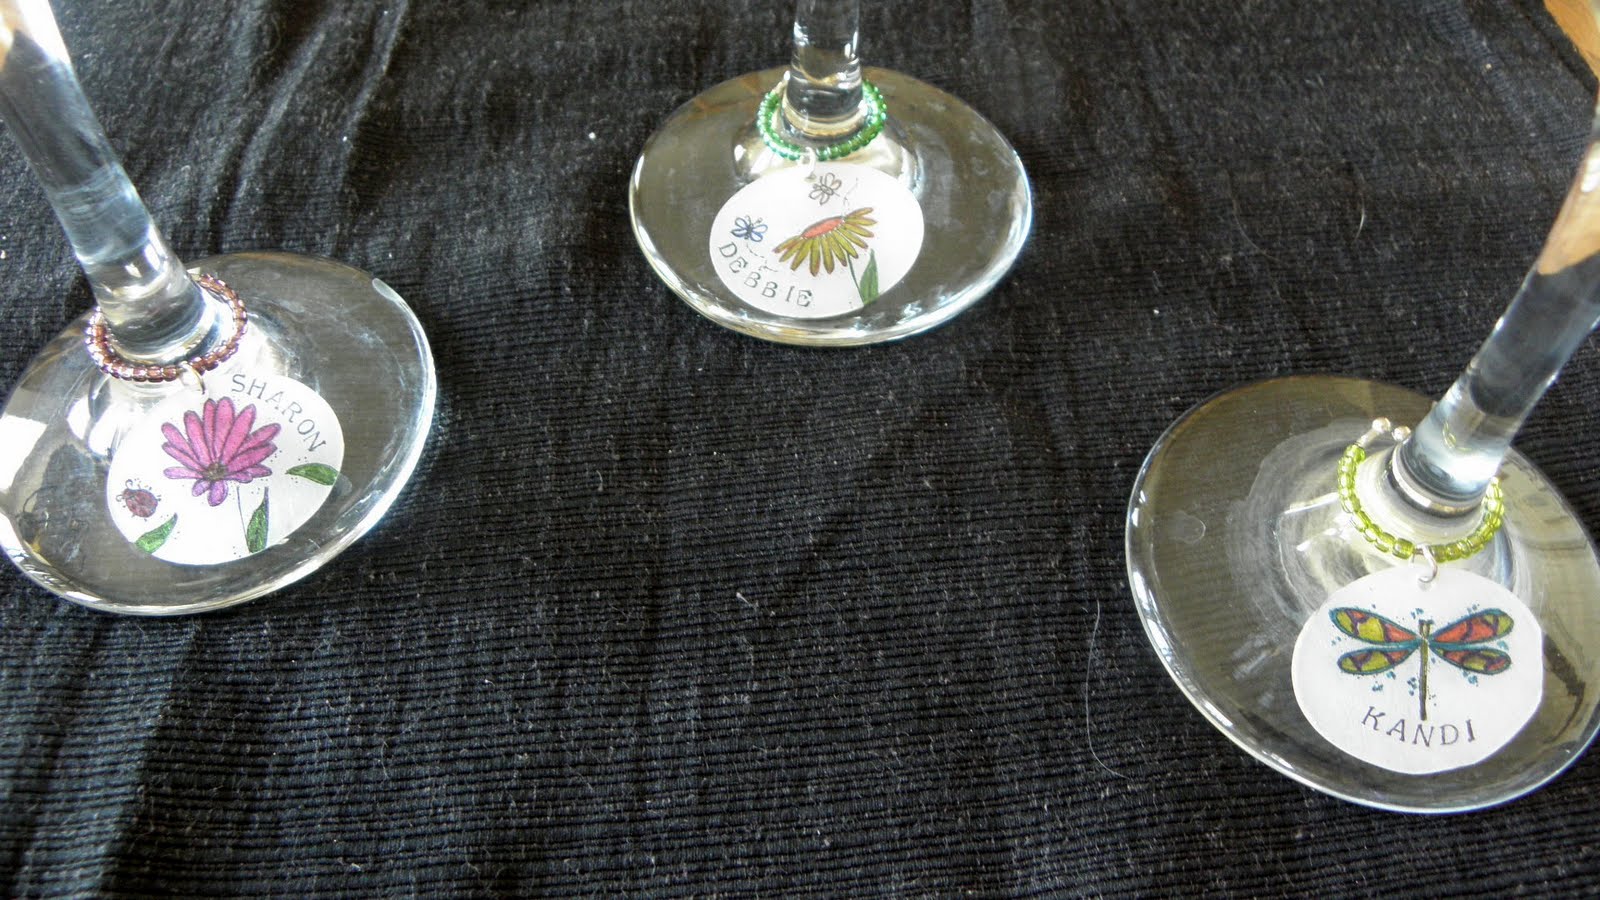
 And the ones I made for the girls.
 This is the one I made for my boyfriend.
He hasn't even seen it yet.
Thank you so much for stopping by.
This is the one I made for my boyfriend.
He hasn't even seen it yet.
Thank you so much for stopping by.

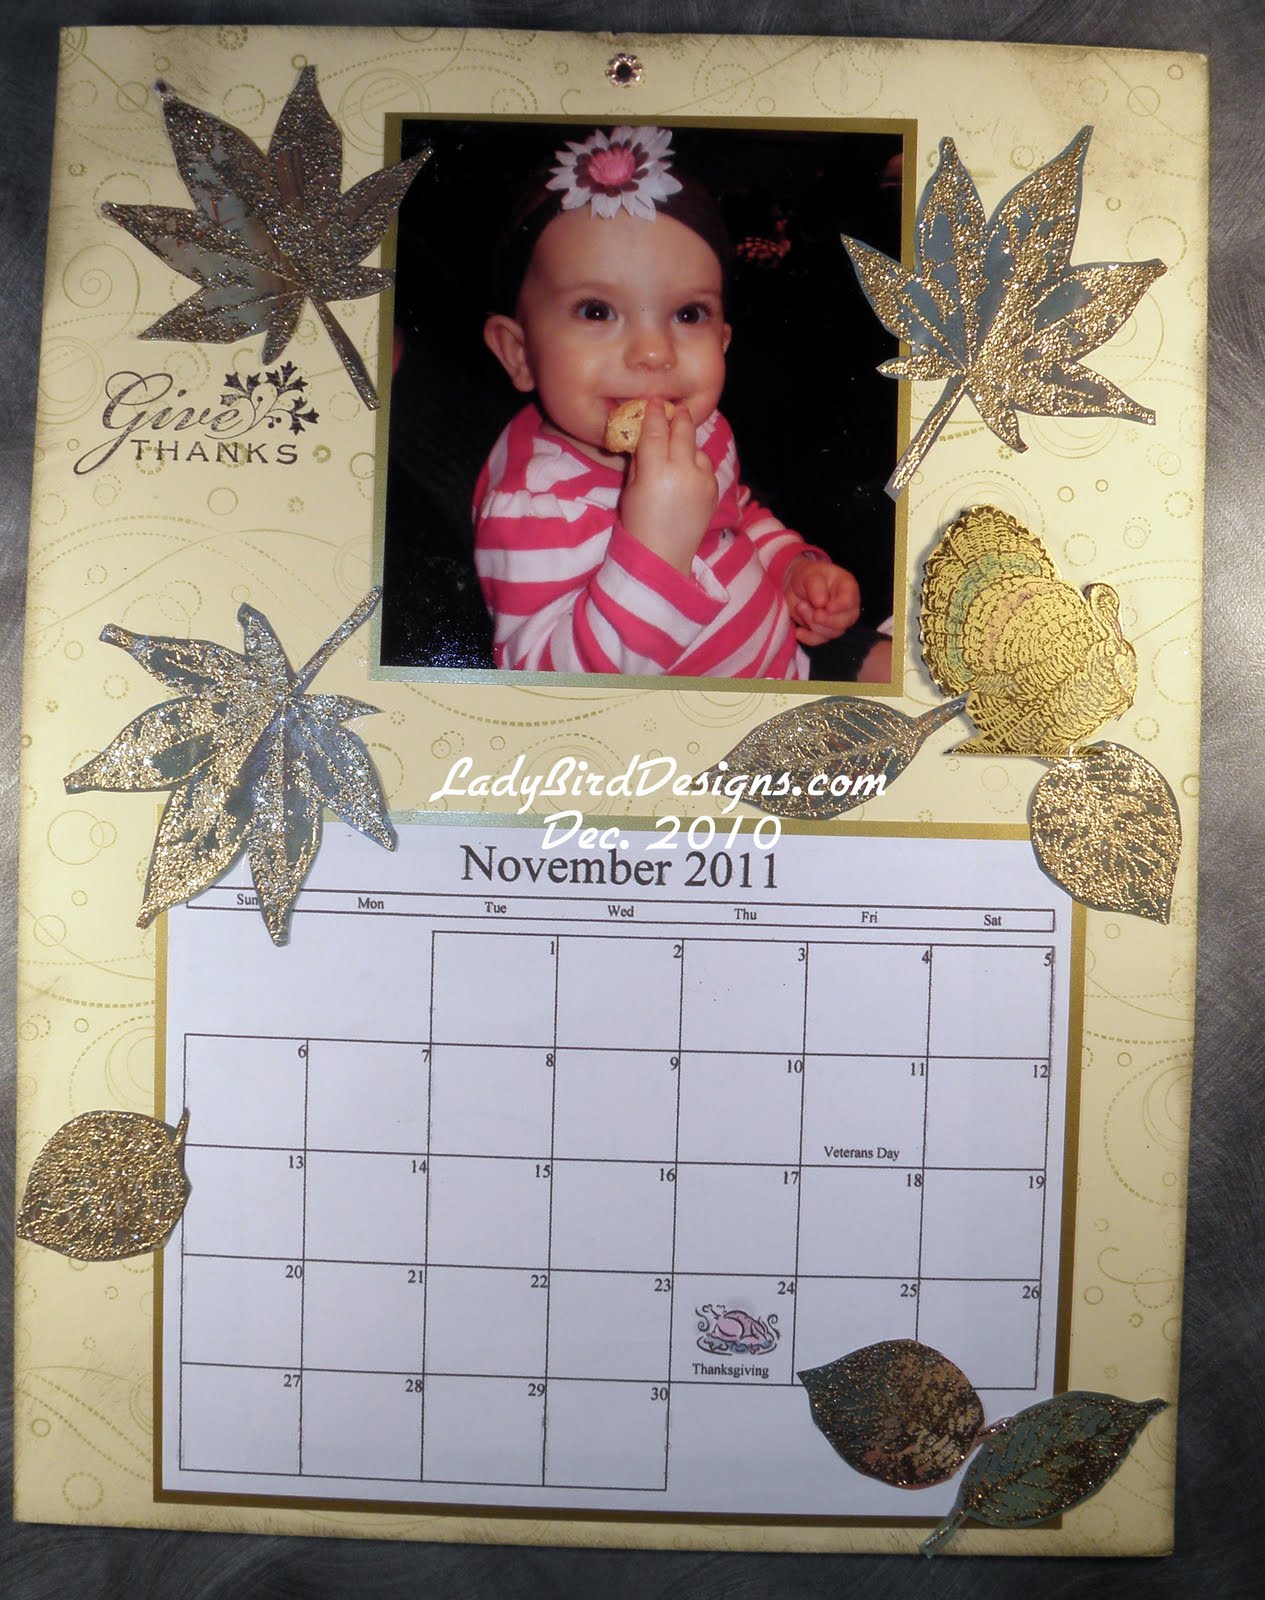


 I hope you like it-If you would like one
you can order one from our on line store.
LadyBird Designs.
They can be purchased month by month.
I hope you like it-If you would like one
you can order one from our on line store.
LadyBird Designs.
They can be purchased month by month.


 Of course these can be ordered at LadyBirdDesigns.com


 Cartridges: Home de'cor, Story book, From my kitchen
Colors: White, Ballet Blue, Chocolate Chip, Garden Green.
The details: First I stamped the phrase on white cardstock, that had been cut with the Cricut using story book with garden green ink. Then framed it with the chocolate chip border. The flowers are cut from home decor and mounted on chocolate chip. The leaves are cut from garden green, and sparkled with iridescent ice. Then I adhered the whole project to the front of an altered box-that I picked up at Michaels. To make the box with stand time I Mod Podged it.
Cartridges: Home de'cor, Story book, From my kitchen
Colors: White, Ballet Blue, Chocolate Chip, Garden Green.
The details: First I stamped the phrase on white cardstock, that had been cut with the Cricut using story book with garden green ink. Then framed it with the chocolate chip border. The flowers are cut from home decor and mounted on chocolate chip. The leaves are cut from garden green, and sparkled with iridescent ice. Then I adhered the whole project to the front of an altered box-that I picked up at Michaels. To make the box with stand time I Mod Podged it.
 It is going to be a Christmas gift for Dru's Grandma. So I finished it up by adding dividers-cut from from my kitchen. I stamped on labels like baby, wedding, get well, sympathy & one for each month. I also included a variety of cards. I am planning on this becoming a stamp camp for next year. TFL
 This one doesn't have any ink alteration but it happens to be in the same blog. te hee!
Cartridge: Home De'cor
This one doesn't have any ink alteration but it happens to be in the same blog. te hee!
Cartridge: Home De'cor
 A little bling for the birds eye!
 This is a box of cards I designed and filled for his other grandma.
My little secret on this one. Is.. when you etch you use the reverse image, so I saved the images that had been cut from the vinyl- and used them on this box. I thought I was very resourceful.
This is a box of cards I designed and filled for his other grandma.
My little secret on this one. Is.. when you etch you use the reverse image, so I saved the images that had been cut from the vinyl- and used them on this box. I thought I was very resourceful.
 As always I enjoyed playing with my cricut.
Both Grandma's absolutely loved them!!!!
As always I enjoyed playing with my cricut.
Both Grandma's absolutely loved them!!!!
 Cartridge: Home De'cor
 Cartrige: Dreams Come True
 Cartrige: Home De'cor (my new fav)
This last Sunday my BF and I tried our hand at glass etching. I am only showing little peeks-because they are for Christmas Presents. So I don't want to give away the surprise. Although after Christmas I will post full pics, and who they went to. We used a total of 11 cricut cartridges to make the stencils for these.
Cartrige: Home De'cor (my new fav)
This last Sunday my BF and I tried our hand at glass etching. I am only showing little peeks-because they are for Christmas Presents. So I don't want to give away the surprise. Although after Christmas I will post full pics, and who they went to. We used a total of 11 cricut cartridges to make the stencils for these.
 Basically what you do is design your image. Then use your Cricut to cut it out of vinyl. Adhere your image to the glass. Apply a pretty thick layer of etching glaze.
 Let rest for 5-7 minutes, not too long or it is hard to rinse off. After it has set you rinse your image under water.
 Remove the stencil as you do this. Don't worry if your image looks faint as it sets it will darken. I almost cried the first time. Ya just get so anxious wanting something you made to turn out "perfect". Give it a few minutes and it will. Putting the stencils on the glass is a little tricky. May I suggest using as flat of pieces as you can find. We used very curved pieces, but be patient it will work for you.
Hope you enjoy this little peek, TFL. Have a great day!
Remove the stencil as you do this. Don't worry if your image looks faint as it sets it will darken. I almost cried the first time. Ya just get so anxious wanting something you made to turn out "perfect". Give it a few minutes and it will. Putting the stencils on the glass is a little tricky. May I suggest using as flat of pieces as you can find. We used very curved pieces, but be patient it will work for you.
Hope you enjoy this little peek, TFL. Have a great day!


