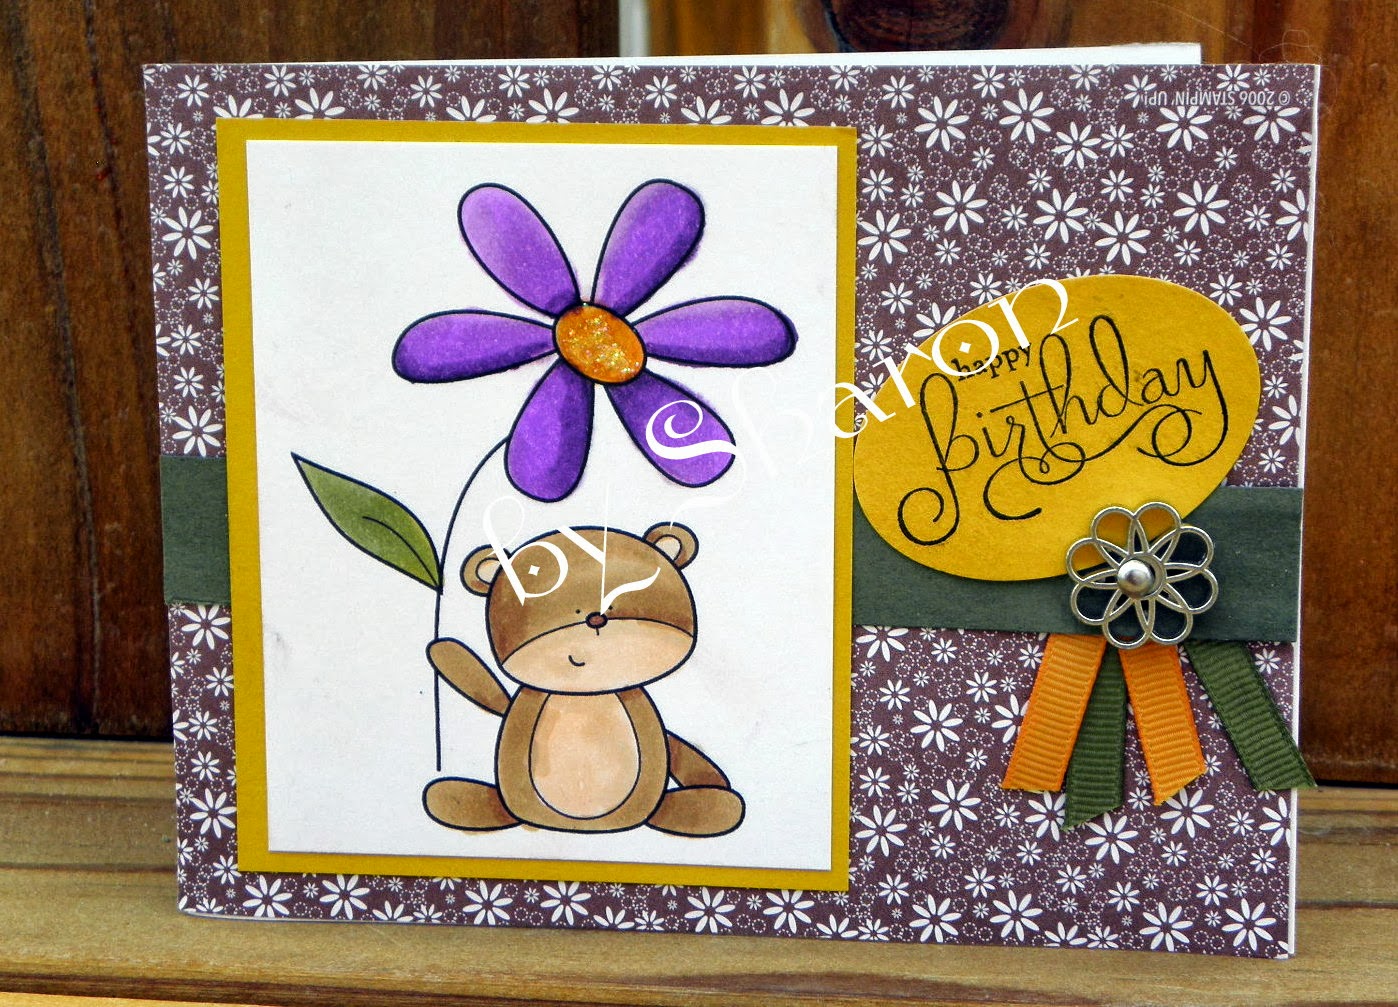
Wednesday, December 31, 2014

Teddy and Flower

Teddy With a flower
Technique: Copic
Image: DSB "Teddy With a Flower"
Paper: DSP, Crushed Curry, Always Artichoke
Ink black,
Accessories: Oval punch, SU:brad
SU: Dazzling Details
Splitcoast Challenge: SC449


Photobucket
Posted by Picasa

Monday, December 29, 2014

Oh My Golly!!! 40!!!!

Oh my golly, my niece is 40 today!!!!  I love you and hope you have an amazing day!

Recipe:
Bday Cupcake (Jolene) 12/29 39
Technique: Cricut
Cartridge: Sweet Treats
Paper: Kiwi Kiss, Daffodil Delight, Pink Pirouette, Tempting Turquoise
SU; Iridescent Ice

Accessories: Pink Tafeta Ribbon


Photobucket
Posted by Picasa

Tuesday, December 16, 2014

Bling Holder

Photobucket
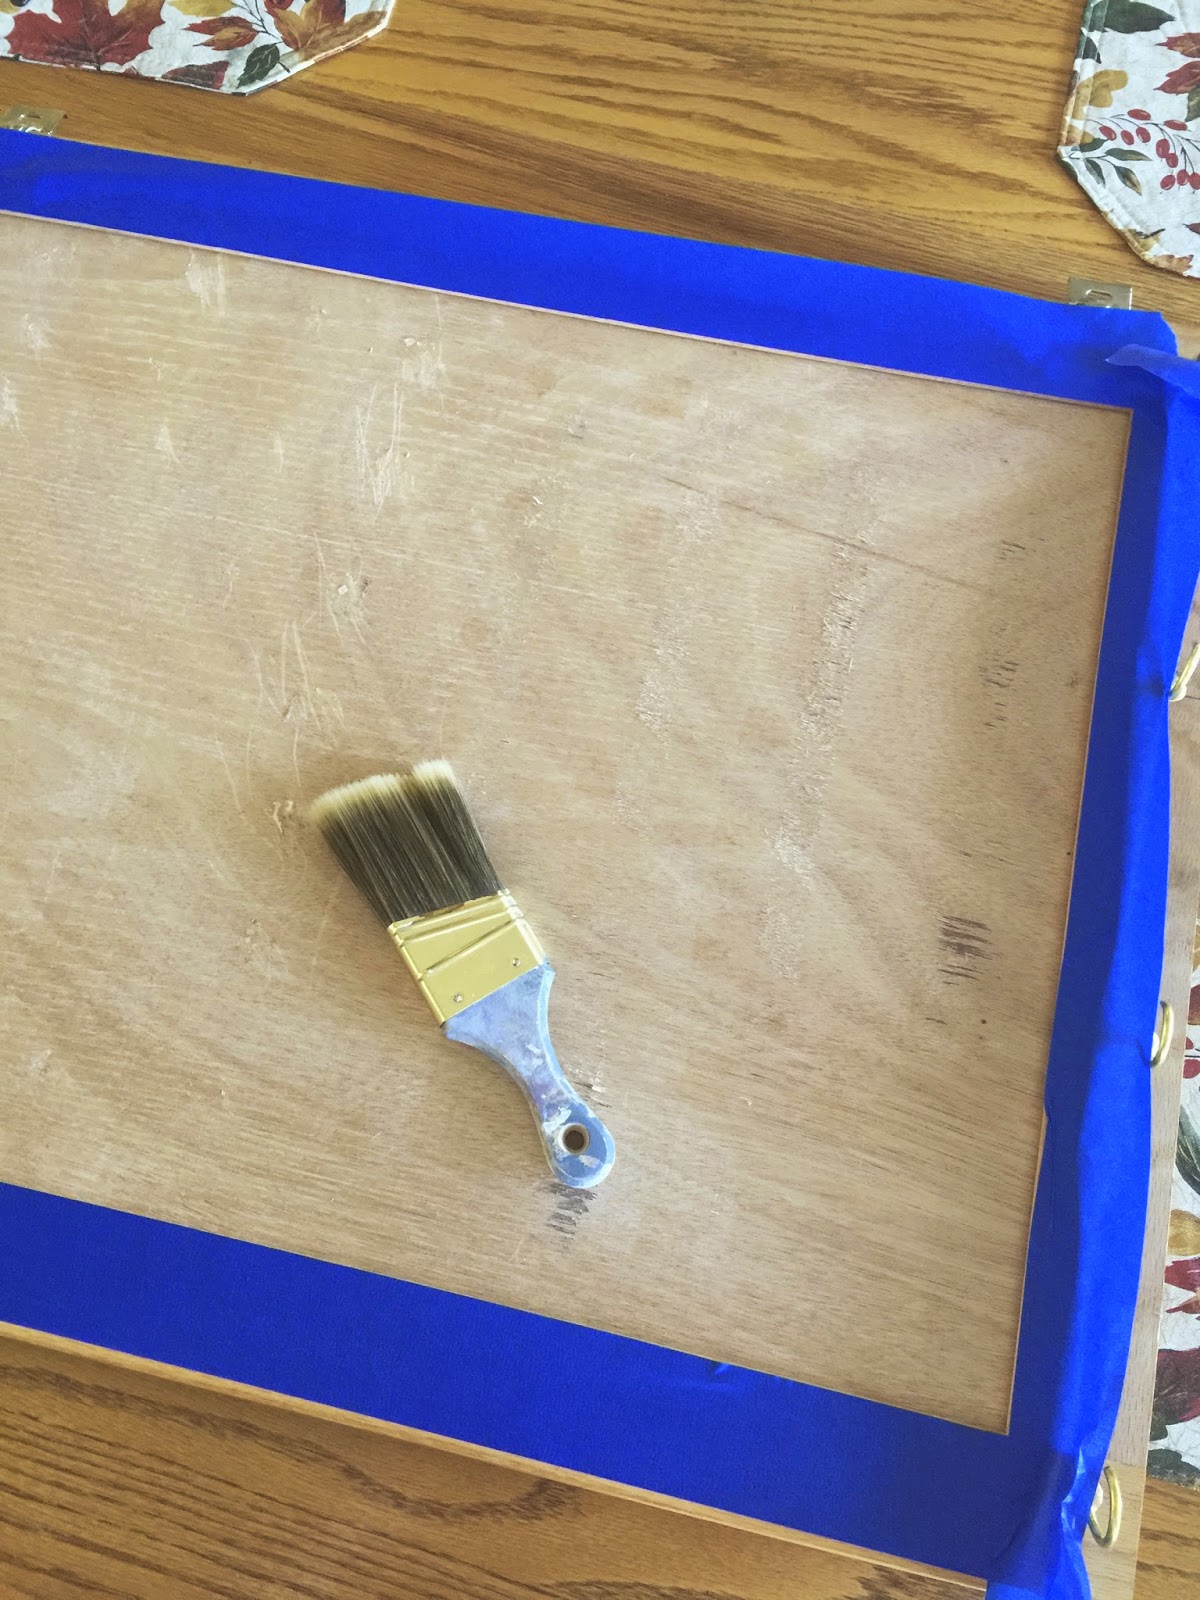
Here is another project I made to organize my office.  I am in a smaller room, so utilizing my space is very important.  If I want to have friend crafters over, we need as much counter space as possible.  So I made this bling organizer to hand up, and hold all of my accessories.
 This is the old bling container.  First of all it's ugly! Second it wastes counter space.


I have had these metal containers sitting idle for years.  When I bought them it was cheaper to
buy a whole case, rather than the exact amount I needed. I am glad to finally be 
putting more of these to good use.  


 I began with my layout.  The board is a burlap canvas.  I wanted to get the most effective way to arrange them.  With a pleasing look.  Now, it's time to start cutting velcro.  I used velcro to adhere
the tins to the canvas.
You can buy the tins with the clear tops, but since I was using product I already had.  I either hot glued one of the items to top of the lid. Or used my SU tools to punch a whole then pushed the brads through.  I then punched 2 holes on the top for hanging.  I think it looks pretty cute, way less space.  When I need some bling, I just grab the tin I want, then when finished scoop the remainders up, and place the tin back in its spot. 

Have an excellent day. Thanks for stopping by.

Sunday, December 14, 2014

Punch Board

PhotobucketAnyone who knows me...knows I do not mind change.  I am always moving an entire room, or rearranging my kitchen drawers.  I like the idea of my punches hanging up, they are easier to use, and see what you have for inspiration.  My office is now its 4th room of my house.  I alway have to re-hand all the curtain rods, for my punches.  This time I used the back of an old cupboard.  Yes, the back just in case I need the front again! ;)  


 Just seeing how everything will fit.  Then screw in the hooks.  The dowels I had laying around are way too long.  I'll have to cut them.  
 I decided to paint the inside purple, to match the lower half of my wall.  I'll let the paint dry while I cut the owls down to size.  
How convenient, the hinges work perfectly to hang my creation on the wall.  
Now, just add the dowles and the punches.   
Now, next time I move, I only have to put in two nails, and slide the board on.  

Saturday, December 13, 2014

Electronic Shelf

Since we got my daughter a bigger TV she has been stacking all of her electronics beside it. Which is never a good idea. When we moved her downstairs, I said, "what you need here is a shelf type thing." ...Oh, a shelf!  It occurred to me~ would be perfect. So I grabbed a shelf. I am one of those people who doesn't like to shop, nor waste my money. Naturally, a 2x4 came to mind as a way to lift it. I measured the 2x4's to the width of the shelf, screwed the shelf and 2x4's together. That looks very plain. I remembered we had some left over trim in the garage. I cut the trim to fit the front of the shelf. Glued and nailed it to the shelf. Then painted the whole thing white. (the shelf was already white melamine.) Voila a shelf for her electronics. That didn't cost me anything, looks good, is functional, and I did it all in my Pj's. ;)


Photobucket